Hello, everyone!
It's the day before New Year's Eve, and I'm here to bring you the last few projects I made using the December kits from Studio Calico.
I'd like to start off with a layout with a photo of what greeted me when I came home one day. My husband loves his motorcycles and this year, since we've moved into a new house and he wants to take really good care of them, he carefully moved his favorite bike into his little den on the first floor...
On this layout I used the gold glitter paper to cut out a title using my Silhouette. The font is called Nova Solid.
The second layout is a scraplift of Tina Azimus' layout by the same title. I really like doing layouts like this to pick some of the highlights of the year that's passed and since today is the second to last day of the year, I thought this was appropriate.
On this layout, I've included photos from the entire year: My in-laws' 50th birthday party, when I was offered a permanent teaching position, the trip we took on the motorcycle last summer, his sister's wedding, my trip to Krakow, my friend's wedding, our cats and general everyday photos.
My last project is a card lift. I really loved the card Emily Pitts made for Simple Stories and wanted to make something similar. For this card I used the Murray Hill add-on (B-side of the camera paper from KI Memories, as well as the alphabet stickers and fantastic smile washin tape from the same brand).
Normally I'm not a card maker, but simple cards like this works for me!
That's it from me for this time. I've loved this chance of working with the gorgeous Studio Calico kits for Scrappin Studio. Jaime, thanks for having me guest twices this year. It's been an absolute pleasure!
To the readers out there, I hope you've enjoyed looking at my projects. I wish you all the best for the rest of 2012 and I hope 2013 will be an amazing year for you!
Showing posts with label Studio Calico Kit. Show all posts
December 30, 2012
December Kit by Margrethe Aas Johnsen
Labels:
12x12 Layout,
card,
Guest Designers,
Studio Calico Kit
December 02, 2012
November Kit Cards by Marina Khong
Hello everyone! It's December again! Oh my time flies! Here are my last projects for the month using Studio Calico's November kits: Sock Hop and Bobby Socks.
First I have a simple Thank You 6" x 6" card combining kraft and blue with a touch of soft pink, all from main kit Sock Hop. Flowers were cut using Sizzix Eclips.
Next I have a more cheerful project; a Birthday 6" x 6" card using add-on kit Bobby Socks. The flag lines were manually cut, layered and adhered with foam dots.
Thanks for dropping by and hope you're having an awesome Sunday!
Cheerios! XOXO!
Marina
First I have a simple Thank You 6" x 6" card combining kraft and blue with a touch of soft pink, all from main kit Sock Hop. Flowers were cut using Sizzix Eclips.
Next I have a more cheerful project; a Birthday 6" x 6" card using add-on kit Bobby Socks. The flag lines were manually cut, layered and adhered with foam dots.
Thanks for dropping by and hope you're having an awesome Sunday!
Cheerios! XOXO!
Marina
Labels:
card,
Design Team,
Marina Khong,
Studio Calico Kit
November 25, 2012
Hong Kong 2012 by Marina Khong
Hi again everyone! I'm back with another 12 x 12 layout using November's main kit Sock Hop. I used the white dotted cardstock as a base. Then I trimmed the vellum to 11 x 11 and laid it on the center of the white base. Using strips of patterned paper I created the design on the left. Then embellish away with the Basic Grey washi tape and wooden flourish! (I painted one of the woodies with red ink!) The yellow 'doily' shape was stamped with a Martha Stewart punch.
This is one of my favorite photos from my recent trip to Hong Kong with the hubs. We were on our way to take the train to Disneyland Resort hence the happy smile :)
Thanks for visiting folks! Have an awesome Sunday and a wonderful week ahead!
XOXO
Marina Khong
| Studio Calico's November Kit Sock Hop |
![]() |
| Studio Calico's November Kit Sock Hop |
Thanks for visiting folks! Have an awesome Sunday and a wonderful week ahead!
XOXO
Marina Khong
Labels:
12x12 Layout,
Marina Khong,
Studio Calico Kit
November 23, 2012
Happy Layout By Cindy
Happy Friday and Happy Thanksgiving to those who are celebrating! Today I am back with another layout made with the November kit. I did a bit of layering with four different pattern papers and added a small glassine bag that came together with the kit to keep my journaling. To create the banner, I first have to decide how and where to put my photo. Once I have that figured out, I stitched down the vellum circles and then lastly adhere the photo piece. The clothespin are for visual interest only. I think I am quite obsess with splattering paint on my layout and this one is no exception either.
I hope you like today's layout and I will be back next week to share another project. See you!
XoXo
Cindy
Labels:
Cindy Lee,
Studio Calico Kit
November 21, 2012
Vroom! Layout by Marina Khong
Today I will share a layout I created using November's main kit; Sock Hop. This is a two-photo layout of my son playing with those cute pedal plastic cars you find at Toys'r'Us, he loves those, but then again he is obsessed with anything with wheels!
Here's a quick and easy tutorial to the layout
I created some embellishments using the arrow stamps. Stamp in black on the paper and fussy cut. Use foam dots to adhere it to the layout and watch it pop!
Do check out the awesome Sock Hop here!
Well that's all for now and thanks for visiting!
XOXO
Marina
| Studio Calico's November Kit - Sock Hop |
| Studio Calico's November Kit - Sock Hop |
| Studio Calico's November Kit - Sock Hop |
Here's a quick and easy tutorial to the layout
- Firstly I determined where I wanted the patterned papers. I decided to use the 2 pieces of promotional papers that came with the kit, they were already a good size :)
- Next I lay over the other layers. I needed a red to make the layout pop and I sneaked in some leftover paper from September's kit hehe (the one with the box numbers).
- Then I removed everything and misted some red ink on the yellow base paper.
I created some embellishments using the arrow stamps. Stamp in black on the paper and fussy cut. Use foam dots to adhere it to the layout and watch it pop!
Do check out the awesome Sock Hop here!
Well that's all for now and thanks for visiting!
XOXO
Marina
Labels:
12x12 Layout,
Marina Khong,
Studio Calico Kit,
Tutorial
November 14, 2012
My Favorite Buddies Layout by Cindy
Happy Wednesday everyone!
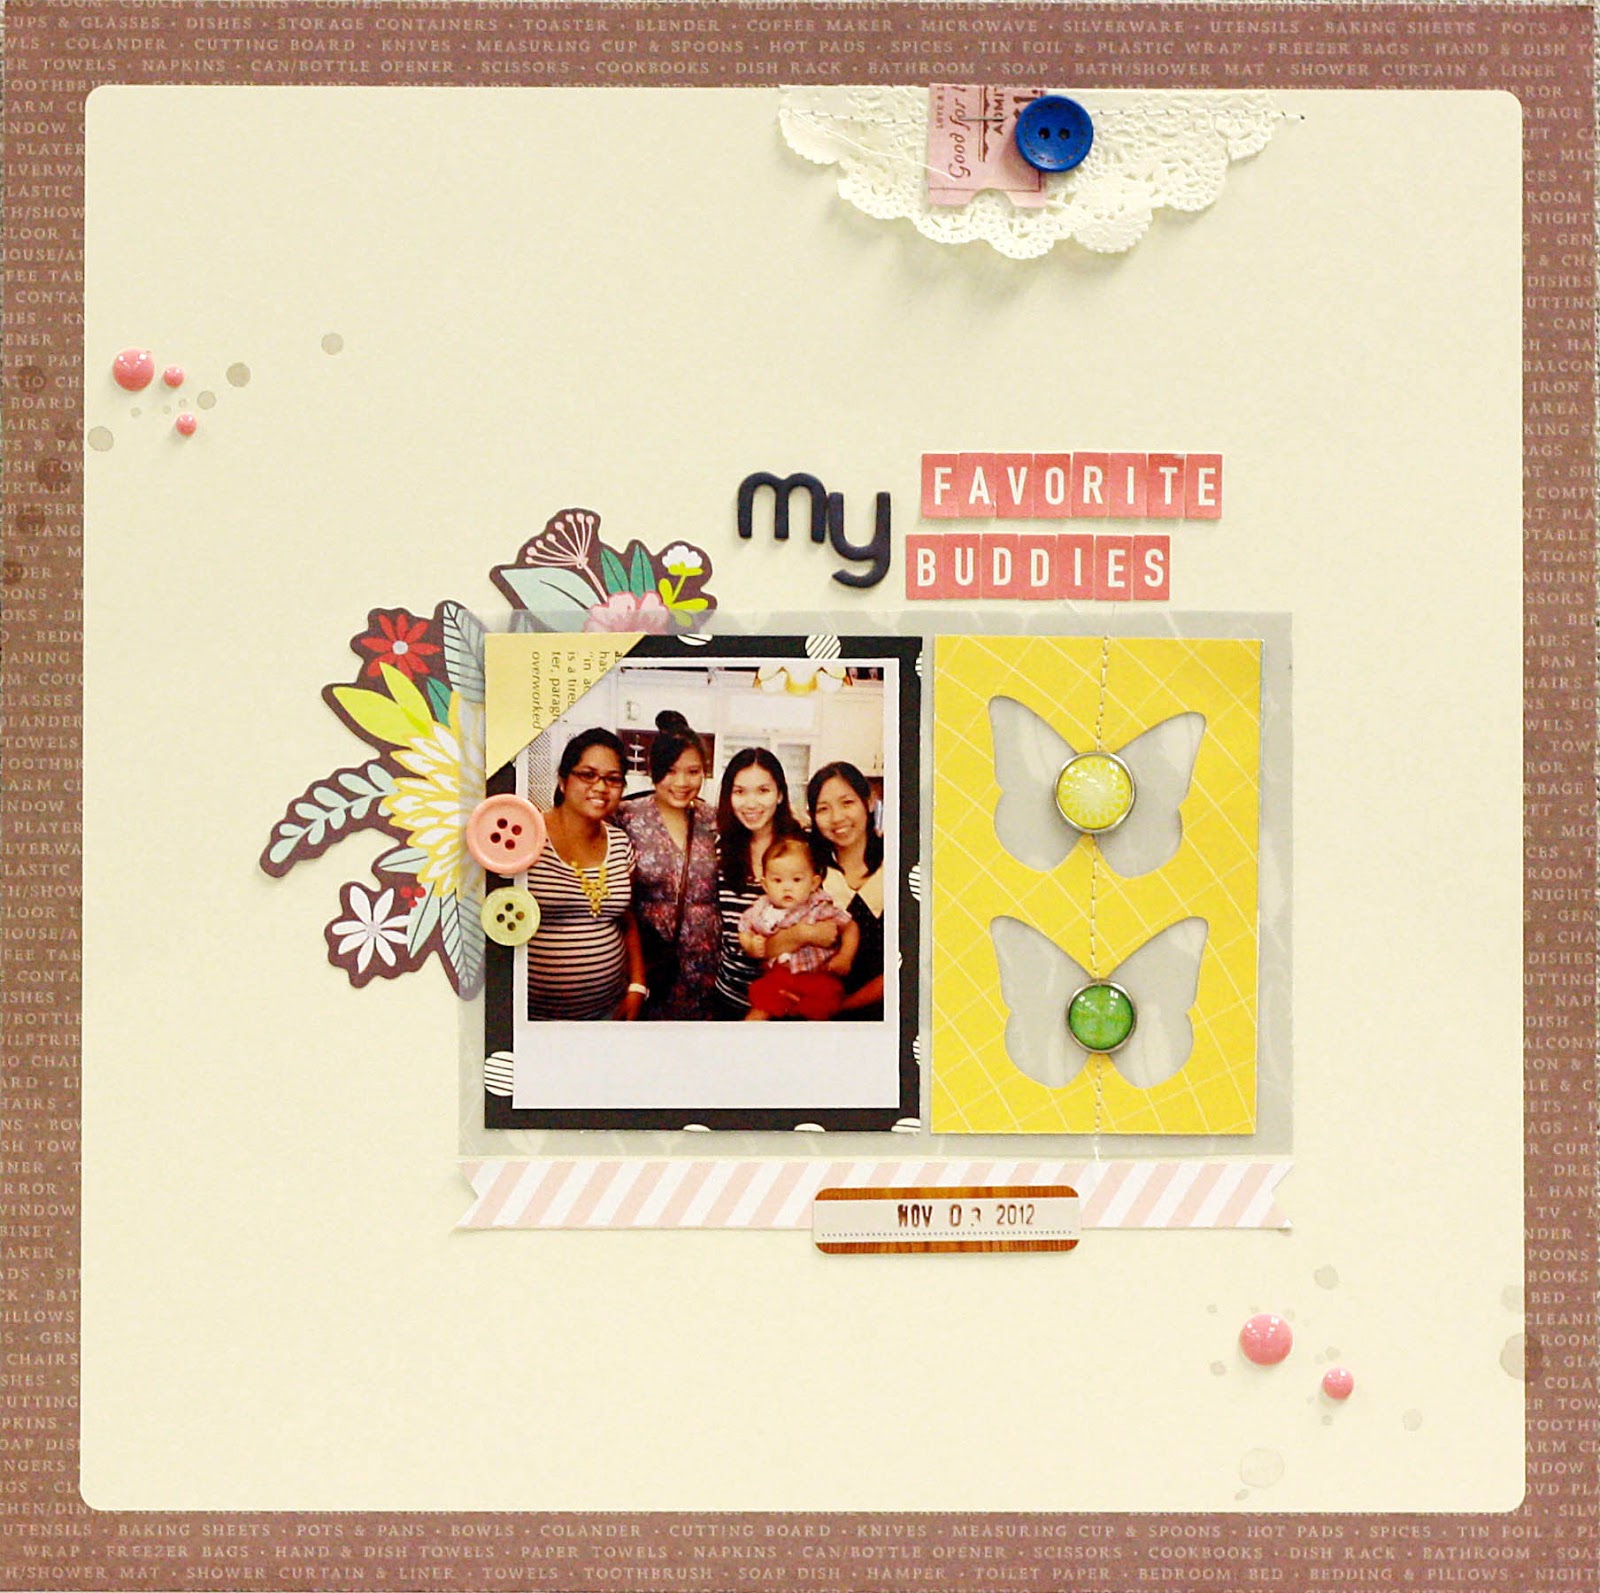
It's Cindy here and today I will be sharing a layout I made with the November kit, Sock Hop and the add on kit, Poodle Skirt. Oh, how I love the colors from both kits! I started this layout with the photo and slowly work my way around it. Can you see the feather vellum (also by Dear Lizzy) behind the photo and the butterfly die cut? I love how subtle the effect was and thought it would be a great contrast for my bright yellow butterfly die cut. The rest of the embellishments came pretty quickly and surprisingly I love the floral die cut that I tucked behind the photo. See the diagonal stripe banner below the photo? It was added last minute due to a minor "accident". I wanted to stamp the date but I had it all wrong...instead of 2012, I stamped 2015. Bummer! Then, I had an idea to cover it with the banner and a sticker with a stamped date. Yes, I got the correct date in the end :) I hope you like this layout as much as I am. Have a great day!
XoXo
Cindy
Labels:
Cindy Lee,
Studio Calico Kit
November 10, 2012
November Kit Projects by Marina Khong
Hello crafty people! Marina here :) I'm back again and I have two new projects to share. I'm thrilled with this month's kits as the colors are so fresh and bright and I just love the little clear stamps and fun brads! Can't wait to use them all! :)
On to my projects... I'm starting with Bobby Socks, November's #1 add on kit. Get the kit here :)
First is a fresh and simple birthday card, love how the patterns in the kit complement each other so well, and that red tag is just delicious :)
For the second project, I used the remaining papers to create a shabby card. I love being able to create different themes from the same papers. Here I altered a Tim Holtz tag using the leftover papers from the card.
That's my first post for Studio Calico's Bobby Socks... I have more to come... now I'll be off for a mini vacation with the hubs next week so you'll only hear from me next weekend. I need to find myself some fresh new inspiration and perhaps some travel photos for a layout or mini album, stay tuned ;)
Thanks for dropping by! Have a great weekend everyone!
XOXO
MK
On to my projects... I'm starting with Bobby Socks, November's #1 add on kit. Get the kit here :)
First is a fresh and simple birthday card, love how the patterns in the kit complement each other so well, and that red tag is just delicious :)
| Fresh and cheery? |
| (Cardstock, stamp, seam binding and twine not from kit) |
| This kit came with a pack of awesome fun brads too! |
For the second project, I used the remaining papers to create a shabby card. I love being able to create different themes from the same papers. Here I altered a Tim Holtz tag using the leftover papers from the card.
| Love the background paper - October Afternoon's Ring Toss from the kit and Heidi Swapp Black and White Alpha (cardstock, lace, brads, pearls and fabric rose not from kit). |
| Sizzix roses from kit paper. |
| Punched doily circle of kit paper using Martha Stewart punch. |
Thanks for dropping by! Have a great weekend everyone!
XOXO
MK
Labels:
add on kit,
card,
Design Team,
Marina Khong,
Sizzix Dies,
Studio Calico,
Studio Calico Kit,
tag
October 21, 2012
Two layouts by Margrethe
Hello, everyone!
I'm Margrethe and I'm the guest designer with Scrappin Studio this month. Today I want to show you two layouts I made using the October kit, Roller Rink and the add-on Couples Skate.
The first layout is with a photo I took on a recent trip to Krakow, Poland. While wandering the streets there, I came across this really cool, bright red car. The city of Krakow is beautiful, with its old Medieval city center, but it is still a big city with dust, dirt and exhaust. So coming across this bright color was unexpected and I had to take a photo of it.
For this layout I used only the main kit, Roller Rink.
I love everything wood and woodgrain, so when I found this paper by [insert] in the kit, I knew I had to make a layout with some bright colors on it as well. The chevrons are hand-cut from one of the in-kit adds. I used some paper doilies I have in my stash to add some layers.
The vellum speech buble and the Instagram-flair was just perfect as it looks like one of the pedestrians was pointing at the car just as the shutter of my iPhone camera closed. Of course, this photo was shared on Instagram...
My next layout is made using both Roller Rink and the add-on Couple Skate. The photo is of our newest family member, Nymeria.
I used a heart punch to cut the hearts and added them to the cardstock in a starburst-like manner to draw the focus to the photo. I stamped the chevron and the sentiment using regular black stamp ink.
The pink/red alphas from Amy Tangerine was perfect for the title, without taking to much attention away from the woodgrain alphas and the main part of the layout's title.
Thank you for visiting today!
Love,
Margrethe
onelifedocumented.com
I'm Margrethe and I'm the guest designer with Scrappin Studio this month. Today I want to show you two layouts I made using the October kit, Roller Rink and the add-on Couples Skate.
The first layout is with a photo I took on a recent trip to Krakow, Poland. While wandering the streets there, I came across this really cool, bright red car. The city of Krakow is beautiful, with its old Medieval city center, but it is still a big city with dust, dirt and exhaust. So coming across this bright color was unexpected and I had to take a photo of it.
For this layout I used only the main kit, Roller Rink.
I love everything wood and woodgrain, so when I found this paper by [insert] in the kit, I knew I had to make a layout with some bright colors on it as well. The chevrons are hand-cut from one of the in-kit adds. I used some paper doilies I have in my stash to add some layers.
The vellum speech buble and the Instagram-flair was just perfect as it looks like one of the pedestrians was pointing at the car just as the shutter of my iPhone camera closed. Of course, this photo was shared on Instagram...
My next layout is made using both Roller Rink and the add-on Couple Skate. The photo is of our newest family member, Nymeria.
I used a heart punch to cut the hearts and added them to the cardstock in a starburst-like manner to draw the focus to the photo. I stamped the chevron and the sentiment using regular black stamp ink.
The pink/red alphas from Amy Tangerine was perfect for the title, without taking to much attention away from the woodgrain alphas and the main part of the layout's title.
Thank you for visiting today!
Love,
Margrethe
onelifedocumented.com
Labels:
12x12 Layout,
Studio Calico Kit
October 16, 2012
Elves Layout by Cindy
Morning everyone! I am back to share another layout using the Central High kit and Style Guide add-on kit. I am just glad I used some of the embellishments from the kit that I never have thought of using in the first place. Like the red and orange letter stickers by Amy Tangerine and the hexagon chipboard. I used the chipboard as a mask and I love how it turned out. Think I will be using it more often from now on :) Not sure if you noticed the smudge of black ink on my layout but I used black mist to cover the minor accident that were caused by my carelessness. And it worked just fine :) So the tip of the day is if you happen to have accident like this, take a bottle of your favorite mist or ink and just splatter away. It makes your project looks artsy too.
XoXo
Cindy
Labels:
Cindy Lee,
Studio Calico Kit
September 29, 2012
Coffee Addict Layout by Cindy
Hello lovelies! It's Cindy and today I have a layout to share using the September kit. I love the arrow stamp from the Style Guide kit so much that I decided to use it for my background. For added interest, I stitched the arrows with my newly bought sewing machine :) When I saw the alpha sticker by Amy Tangerine, I wasn't sure if I'm ever going to use it. At first I thought they were plastic but I was wrong. And now, they are in my favorite product list. They are so fun to use and I like them better than Thickers.
XoXo
Cindy
Labels:
Cindy Lee,
Studio Calico Kit
July 29, 2012
Boy Theme Mini Album & Ribbon Tutorial by MK
Hi there, Marina here again with my 3rd Scrappin Studio project. Hope you had a great week, more than half a year is gone and in a matter of months we are closing 2012! Scary how time flies. And scary how fast babies grow too, it feels like only yesterday when my boy was a helpless infant and today he is a demanding toddler! Today I'm sharing a mini album entitled L-U-C-A-S, a tribute to him and this yellow car which he loved. (I say 'loved' because the car has since been replaced by many others and is also, sadly missing a wheel!)
I started by cutting cardstock and papers into 5" x 6" sizes, all are from July's main kit and add on kit: Elmwood Park and Capture the Flag. Then I used remnants of the papers to embellish. The main idea was to spell out L-U-C-A-S so I started with the lettering pages and then decorated behind each with photos etc.
The lettering are achieved by fussy the cutting the letters from this pp:
I then used the canvas ribbon (from Capture the Flag kit) as the cover centrepiece....
Below photos are how I decorated each page behind the lettering pages....
Last step - simply punch a hole at the top left corner and use a ring or chain to hold the pages together. Finally here's how the album look like page by page.
Now I'd like to share a simple tutorial on how to make the canvas ribbon bloom. You will need; needle, thread, ribbon with some width, buttons and twine to decorate the centre and some glue dots to adhere the bloom to paper.
Hope you like this album and bloom :) Thanks for dropping by and have a great week ahead!
Cheers!
Marina Khong
I started by cutting cardstock and papers into 5" x 6" sizes, all are from July's main kit and add on kit: Elmwood Park and Capture the Flag. Then I used remnants of the papers to embellish. The main idea was to spell out L-U-C-A-S so I started with the lettering pages and then decorated behind each with photos etc.
The lettering are achieved by fussy the cutting the letters from this pp:
![]() |
| Basic Grey - PB & J - Thermos |
Below photos are how I decorated each page behind the lettering pages....
Last step - simply punch a hole at the top left corner and use a ring or chain to hold the pages together. Finally here's how the album look like page by page.
Now I'd like to share a simple tutorial on how to make the canvas ribbon bloom. You will need; needle, thread, ribbon with some width, buttons and twine to decorate the centre and some glue dots to adhere the bloom to paper.
- Step 1: Gather the edge of the ribbon into a fan shape, thicker ribbons are easier to work with, this canvas fabric is perfect!
- Step 2: Thread a needle and thread through it section by section till you have enough to become a bloom.
- Step 3: Sew up at the joining section and knot it - this will be the behind.
- Step 4: Flip to the other side and you're almost done - add finishing touches to the centre with buttons or other embellishments.
Hope you like this album and bloom :) Thanks for dropping by and have a great week ahead!
Cheers!
Marina Khong
Labels:
Marina Khong,
Mini Album,
Monthly Kit,
Studio Calico Kit
July 22, 2012
Hello Sunshine by Marina Khong
Happy Sunday scrappers! Marina here again to share a quick and easy cheerful card to brighten up your coming week :)
Hello Sunshine is created using Studio Calico's July main kit Elmwood Park and add-on kit Capture the Flag. The candy colors are simply so cheerful it's sure to make you sunny and happy! Feeling the joy yet? Then check the kits out here!
I must say I really LOVE the retro office babe in the centre of the card which is fussy cut from October's Afternoon's 9 to 6 collection; Shorthand (available in Elmwood Park). See, there are so many retro babes to choose from! :) I can make a dozen "office cards" from just one sheet!
Well that's it for now, have an awesome week ahead!
Hello Sunshine is created using Studio Calico's July main kit Elmwood Park and add-on kit Capture the Flag. The candy colors are simply so cheerful it's sure to make you sunny and happy! Feeling the joy yet? Then check the kits out here!
I must say I really LOVE the retro office babe in the centre of the card which is fussy cut from October's Afternoon's 9 to 6 collection; Shorthand (available in Elmwood Park). See, there are so many retro babes to choose from! :) I can make a dozen "office cards" from just one sheet!
Well that's it for now, have an awesome week ahead!
Labels:
card,
Marina Khong,
Studio Calico Kit
July 17, 2012
August Sneak Peek!
Pre-order add-on kits will have another additional 10% discount if order are placed by or before 20th of every month. You can reach us at admin@scrappinstudio.com.my
Labels:
Sneak Peek,
Studio Calico,
Studio Calico Kit
Subscribe to:
Posts (Atom)
.jpg)

+d01.jpg)


+copy.jpg)
+d02+copy.jpg)
+copy.jpg)
+d02+copy.jpg)